 Or “The LAST mitered corner tutorial you will EVER read”
A.K.A. “Mitered corners used to be a bitch. Not anymore.”
I have developed (after reading thousands of tutorials) the perfect mitered corner system. By “perfect” I mean:
- Doesn’t involve any math
- Easy to remember
- No agonizing snipping-and-then…”oh-shit!” moments
- No extra sewing involved
- Corners stay closed
- It’s fast
Without further ado, I share this method with you:
- Fold all sides in once to your desired hem width (I’m using 1/2 inch hems). Iron.
Step 1: Fold all sides in once and iron
Step 1 Detail: I’m using 1/2 inch hems
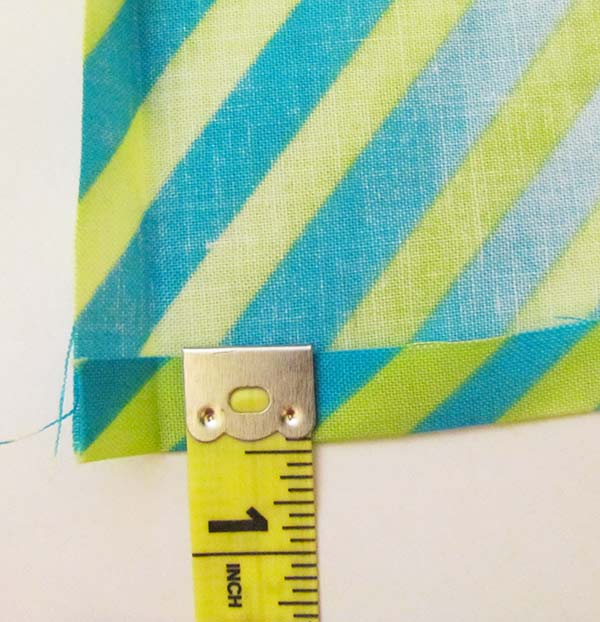
- So, I fibbed: there is a little math involved, but figure it out once and then forget about it. Cut a piece of cardstock 1 inch tall. Length doesn’t matter. (1″ works perfect for 1/2 inch hems. If you’re using a different width hems, adjust accordingly.)
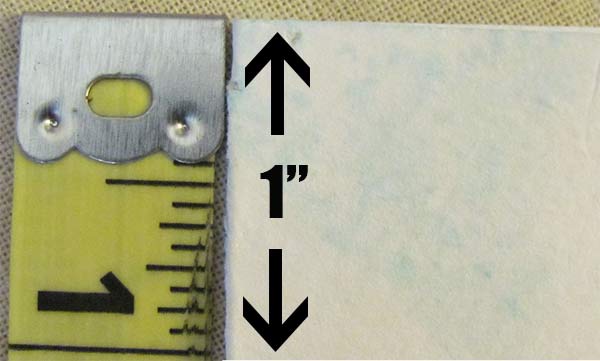
Step 2: Cut cardstock 1″ high
- Unfold your hem and use your piece of cardstock as a guide to fold the corner up 1″ into a triangle. Iron.
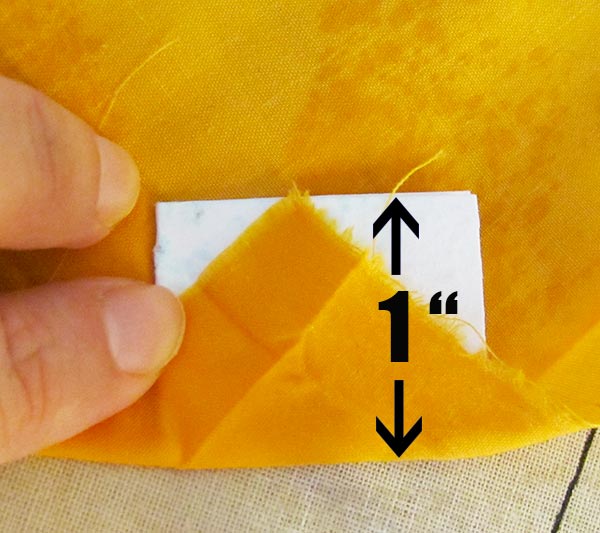
Step 3: Fold corner up 1″. Iron.
Step 3 Detail: Fold corner up 1″. Iron.
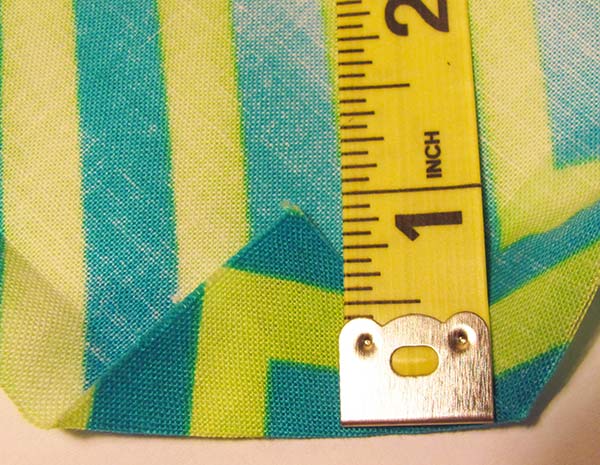
- Now fold the tip of the corner straight down to meet the bottom fold. Iron.
Step 4: Fold top corner down to meet bottom fold. Iron
Step 4 Detail: Fold top corner down to meet bottom fold. Iron
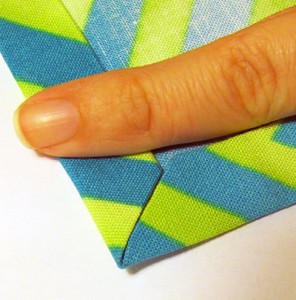
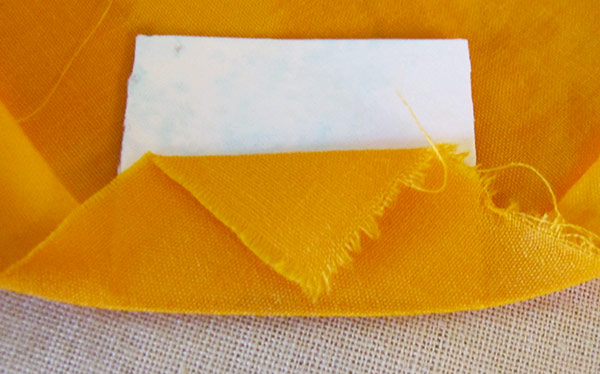
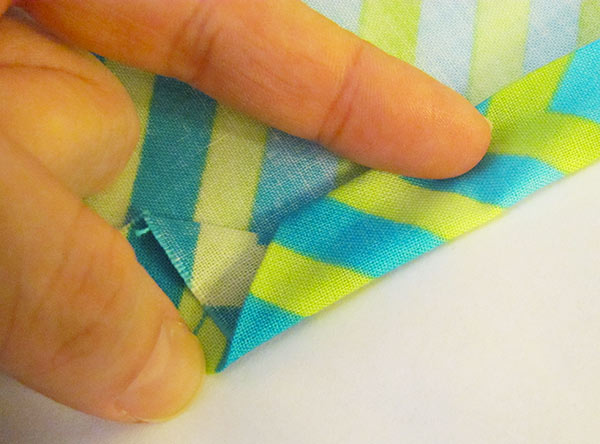
- Place your fingernail in the center, where the tip of the corner meets the bottom folded edge. Fold the sides in along the line you ironed in step 1. The raw edges should meet up with the folded part of the triangle.
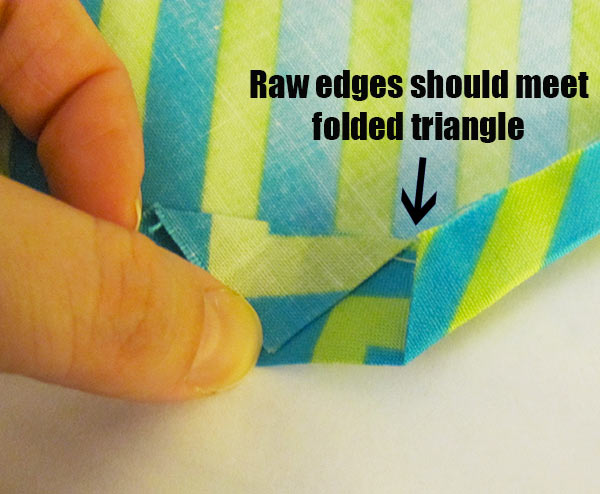
Step 5: Fold sides in
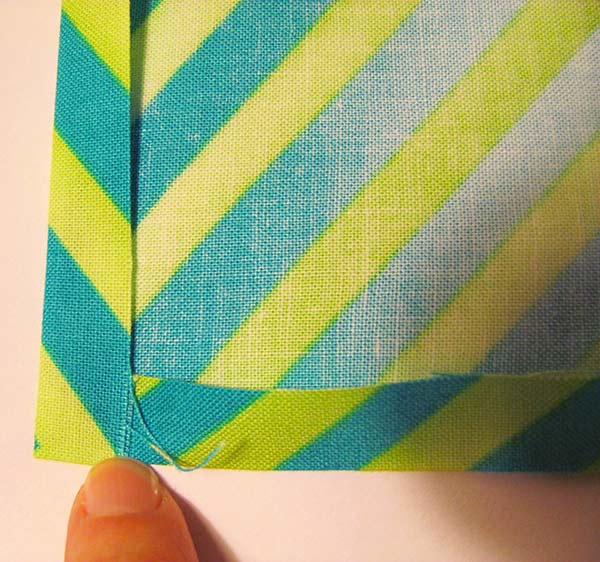
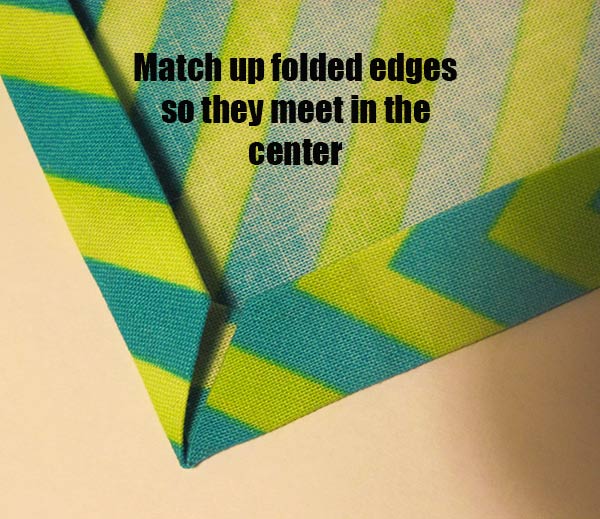
Now fold the sides in again so they meet in the center.
Step 5 Detail: Fold the sides in again so they meet the center.
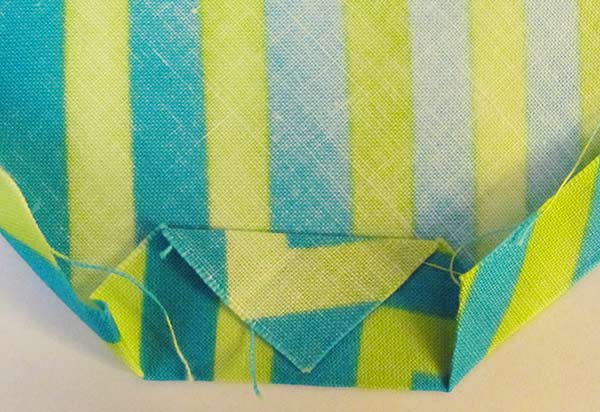
Iron everything flat, quick! Your mitered corners should look like this:
Step 5 Detail: Iron
And Voilà : perfect mitered corners in five easy steps!
I like the cardstock method because you don’t have to fuss with a measuring tape and an iron at the same time. If you use white cardstock, you can spray it and iron it without worrying about it melting or burning up or seeping dye into your fabric. And if you’re making 8,000 napkins and tablecloths like I am at the moment, the pre-measured card lets you work faster since you don’t have to find the end of the tape measure, figure out where an inch is, position it so it doesn’t get burned, blah blah blah.
For me, it was fastest to fold all four sides 1/2″ in once and iron. Then fold and iron the triangle up and down – repeat for all corners. I try to do this without putting the iron down – it involves some concentration and dexterity, but is faster when you get the hang of it. Then, one by one, I finish the miters by folding the sides in to meet up in the center. You might find it easier to follow all the steps through on one corner before moving on to the next. I found it works best to spray an iron each time you iron so the folded edges automatically tend to meet up in the right places.
If you have any suggestions, questions or suggestions for improvement, by all means, let me know!

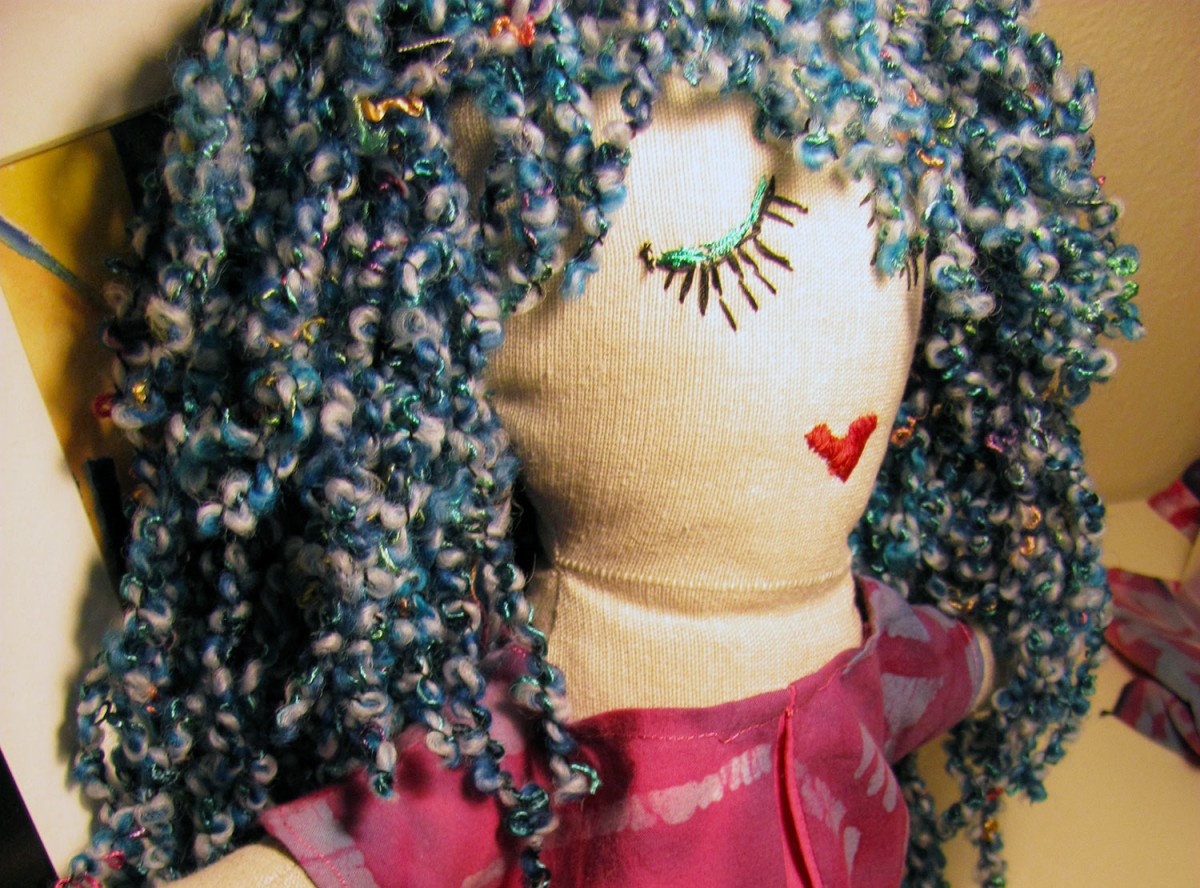


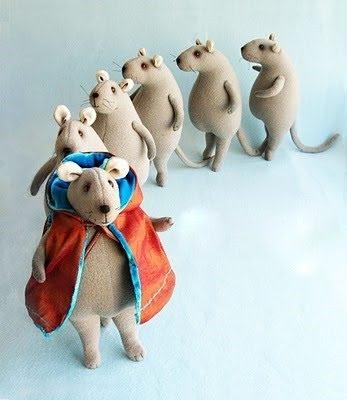
 I also didn’t have the right kind of paint for her face, so I embroidered it all, which was kind of a pain, but I’m pretty happy with the way it came out. I was inspired by this doll to the left, who is absolutely gorgeous.
 And, of course, after I finished Super Toppino, I found this felted mouse who is also incredibly adorable, with his little saddlebag and scarf. And I love the lined, hooded cape on this other guy too.